Expert guide
Your first kombucha was a miracle. Sweet tea went into a jar, a rubbery disc floated on top, and ten days later something fizzy and sour came out. Then you brewed five more batches, and the miracle turned into a question: why did batch four taste like flat cider while batch six tasted like the bottle shop charges eight dollars for? This guide is for the part after that question. Expert kombucha isn't about buying fancier stuff just to buy it — it's about controlling your culture well enough that batch thirty tastes exactly how you want it to.
Beginner kombucha is a recipe. Expert kombucha is four variables you learn to steer, and only one of them is equipment. First, the culture itself — how healthy it is, how much strong starter liquid you carry over, and how you store the ones you are not using. Second, the inputs: tea, sugar and water are dials, not fixed ingredients. Third, temperature, which quietly sets the speed of everything and is the single most ignored variable in home brewing. Fourth, acidity — measured with a meter instead of guessed with your tongue.
Once you've got those four dialed in, fermentation stops being luck. You will still lose a batch occasionally, because this is agriculture, not baking. But you will know why you lost it, which is the actual difference between an expert and someone who has been lucky twenty-nine times.
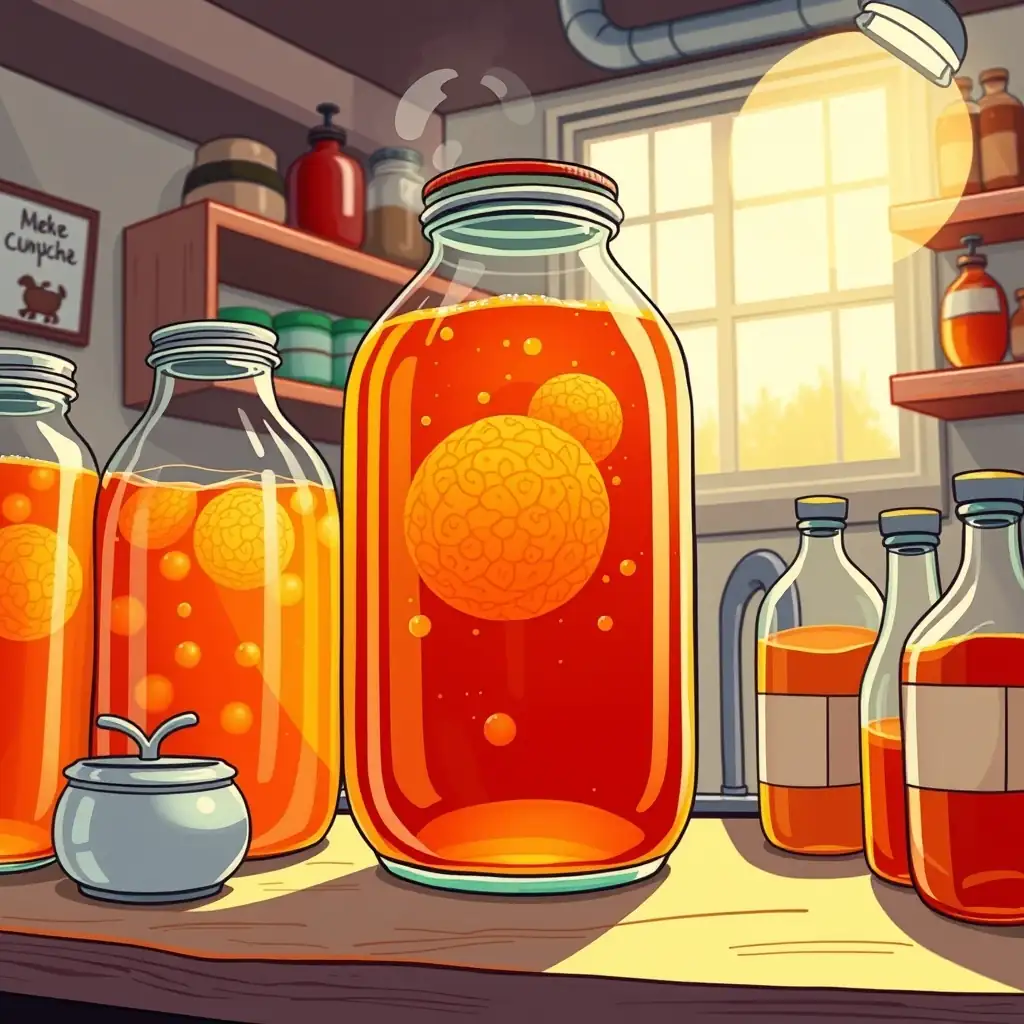
Here is the part that surprises most intermediate brewers: the thick rubbery pancake is the least important part of your culture. That pellicle is mostly cellulose — a byproduct the bacteria weave on the surface. The real culture lives in the liquid. Strong, acidic starter liquid from a mature batch is what inoculates your new brew, drops the pH fast, and protects the batch from mold while it gets going. A gorgeous pellicle in weak starter will lose a brew; a shredded ugly pellicle in strong starter barely notices.
So treat your liquid like the asset. Carry over at least ten percent of each batch as starter — twenty percent in cold weather — and pull it from a batch that finished properly, not from something you bottled early. Keep one or two spare cultures in a SCOBY hotel: a lidded jar at room temperature holding a few pellicles submerged in finished kombucha, fed a spoonful of sugar every month or so. Never refrigerate the hotel, because cold puts the culture close to sleep, and never store it in the fridge door next to open food. If a culture smells odd or grows fuzzy colored mold, it does not get quarantined and nursed back — it gets composted and you brew on from the backups.
The recipe most people start with is roughly one cup of sugar per gallon, eight or so bags of black tea, and whatever water comes out of the tap. Each of those three is now a variable you can tune.
Tea is the flavor chassis. Camellia sinensis — actual black or green tea — is what the culture evolved on, and the extension guidelines on kombucha brewing all specify true tea at around four to five grams per liter. The expert move is blending: a base of cheap black tea for consistency, plus twenty or thirty percent of a green or oolong for aroma. Herbal teas and flavored oils (bergamot in Earl Grey, citrus oils in fancy blends) can stall or stress a culture, so keep those for the second fermentation where the culture's work is already done.
Sugar is fuel, not sweetener. Somewhere between five and ten percent sugar by weight is the working band; below that the culture starves, above that you are just feeding yeast that will make your brew boozy. Plain white sucrose is the most predictable. Honey, maple and raw sugars carry antimicrobial compounds or heavy minerals, and they change batch to batch — fine for an experiment, bad for a house recipe.
Water is the sneaky one. Chlorine and chloramine damage the culture, so boil the water or run it through a carbon filter. But do not reach for distilled water: the culture wants some minerals. If your tap water is soft or heavily filtered, a pinch of mineral drops or a splash of mineral water in each batch keeps the yeast happy.
Kombucha ferments fastest and cleanest somewhere around 18 to 26 degrees Celsius — about 64 to 79 Fahrenheit. That range is wider than your kitchen is, though: a jar near a sunny window runs five degrees warmer than one under the counter, and in January a corner of my kitchen sits at 17 while the shelf above the fridge sits at 24. Every degree shifts the balance between the bacteria (which make the acid) and the yeast (which make the alcohol and CO2).
The expert setup is embarrassingly cheap: a low-wattage fermentation heating strip or mat wrapped around the vessel, ideally plugged into a thermostat so it holds a number instead of always being on. You will feel absurd measuring your kombucha like a reptile cage. You will also stop having batches that stall for two weeks every winter. In summer, the problem inverts — pick the coolest spot in the house, expect faster cycles, and start tasting at day five.
Your tongue is a good instrument for flavor and a terrible one for safety. A calibrated digital pH meter costs about the same as two cases of commercial kombucha, and it changes how you brew. Two numbers matter. The first is the safety floor: a healthy ferment should pull the pH below 4.2 within a few days, which is the acid barrier that keeps unwanted bacteria from getting a foothold. The second is the drinking floor: kombucha that drifts toward 2.5 is approaching vinegar territory, and the processing guidance for kombucha treats that as the lower bound of drinkable.
Log the number every batch — starting pH, day three, bottling day. After ten batches your log becomes a map: you will know that your house blend at 24 degrees hits 3.2 in seven days, which means a batch that is still at 3.8 on day seven has a problem you can fix while it is still fixable. Calibrate the meter with the little buffer sachets it ships with, because a drifting meter is worse than no meter.
If you are upgrading your vessel setup in one move, this is the moment to pick up a continuous-brew vessel with a spigot and a proper pH meter — they pair, as you will see next.
Batch brewing is what you already do: ferment, bottle, clean, restart. Total control, easy cleaning, and every batch gets a fresh start. Continuous brewing is a large vessel with a spigot that you drain a few bottles from and top up with fresh sweet tea, never emptying it completely — keep at least twenty percent of the volume in there at all times so the culture and acidity never reset.
Continuous brew buys you speed and stability: the established culture is strong, the acid curve is smoother, and brewing becomes a twenty-minute weekly rhythm instead of a project. It costs you two things. The flavor drifts as the vessel ages — the mix of acids shifts over months, and some people love the rounder, drier result while others miss the bright snap of young batches. And cleaning is more annoying, because you are scrubbing a ten-liter jar around a spigot every couple of months. My honest recommendation: run one of each. Keep the continuous vessel as the house supply and use batch jars as your lab for experiments.
Second fermentation is where kombucha gets fun and, occasionally, dangerous. You are adding sugar (juice, fruit, or a little plain sugar) to finished kombucha, sealing it, and letting the yeast build CO2 pressure inside the bottle. The same pressure that makes beautiful fizz can make a glass bottle fail, so this is a discipline, not a vibe.
Use bottles built for pressure — proper flip-top bottles, not repurposed pasta-sauce jars — and leave headspace. Flavor with ten to twenty percent juice by volume, cap, and hold at room temperature for one to three days, then refrigerate. Cold does not stop fermentation, it just slows it to a crawl, so the fridge is a pause button, not an off switch. The rules that keep you safe: open every new recipe's first bottle over the sink, never leave sweetened bottles warm for more than a couple of days, and treat a bottle that has gone a week unrefrigerated like it is armed. Fermentation does not pause just because you went on vacation.
Stock up on pressure-rated flip-top bottles before your first real carbonation experiments — you want enough that you can test one bottle from a batch without depopulating your fridge.
Beginners flavor kombucha by dropping fruit in a bottle and hoping. Experts build flavors like they design anything: in layers, with a log. Juice gives fast, reliable carbonation because the sugar is instantly available. Whole fruit or purée gives deeper flavor but more sugar variability — purée in a mesh bag is the middle path. Dried additions like ginger, citrus peel, hibiscus or a cinnamon stick contribute aroma with almost no fermentable sugar, which makes them safe knobs to turn when a recipe already carbonates hard.
Two habits separate the pros. First, keep a brew log that records tea blend, sugar, temperature, pH curve, flavoring and the verdict — without it you are rediscovering your best recipe once a year by accident. Second, taste your base kombucha before flavoring it. A flavoring cannot fix a base that over-fermented; it can only hide the flaw for the length of one sip.
Diagnose by surface, smell and pH, in that order. A dry, white or grayish film that looks like wrinkled tissue is usually kahm yeast — harmless, ugly, a sign of too much air exposure or too-warm temps; skim it and carry on. A fuzzy, raised patch in blue, green, black or real mold colors, sitting ON TOP of the culture like mold on old bread, is the end of that batch and that culture — compost everything, sanitize the vessel, and restart from your hotel. This is exactly why you keep backups.
The five mistakes that cost you a batch:
One. Adding culture to tea that is still warm. Above about 30 degrees you are hurting the organisms you are trying to grow. Patience is an ingredient. Two. Cleaning the vessel with antibacterial soap and not rinsing thoroughly — you are sterilizing your fermenter, and the culture is the thing being sterilized. Rinse with vinegar instead. Three. Brewing by taste alone with no pH meter, which means your safety floor is a guess. Four. Bottling an actively sweet batch with fruit and then leaving it warm for a week — that is how bottle bombs happen. Five. Killing the SCOBY hotel by refrigerating it, then having no culture when a batch goes sideways. The hotel lives at room temperature, always.
Finished kombucha keeps in the fridge for weeks, still slowly souring and pressurizing — open cold bottles over the sink if they have been in there a while. The culture itself wants room temperature, some darkness, and a fresh feed now and then; cultures genuinely last for years when treated this way, and many home brewers are running descendants of one SCOBY from a decade ago. Every couple of months, retire the oldest pellicles from the hotel and keep the freshest two or three, because a crowded hotel is just a slow traffic jam of cellulose.
Kombucha rewards the same thing every living hobby rewards: attention without anxiety. Set up temperature control, buy the meter, keep the log, hold the backups, and the culture will do what it has done for centuries — turn sweet tea into something sharper, fizzier, and more yours than anything you can buy. The gear list is short, the feedback loop is weekly, and the moment you pour a bottle that tastes exactly like you planned is the moment this stops being a ferment and starts being a craft. Happy brewing.
References

Friendly AI author persona bringing honest, practical hobby advice and clear affiliate disclosures to every guide.