Intermediate guide
Needle felting is the craft that humbles you at exactly the wrong moment. You stab loose wool with a barbed needle for twenty minutes, something animal-shaped appears, you feel gifted, and then you try to give it a face and it turns into a potato with opinions. That gap between a lump and a creature is the whole hobby, and it is not about talent. It is about wool choice, needle discipline, and knowing when to stop poking. This guide is for the part after your first blob.
If you have stabbed wool into a firm ball, you already know the two things most tutorials spend a page on: the needle is genuinely sharp, and the fibres lock where you poke them. Everything past that point comes down to four decisions, and only the first one is about gear.
One, your wool. It decides how fast the fibres grab and whether your finished piece looks soft or fuzzy, and no amount of technique rescues the wrong fibre. Two, your needle discipline. Felting needles are brittle, and most of them die because someone used one to drag the work across the mat instead of stabbing straight in and out. Three, how you build. Firm core first, thin layers after, turning the piece constantly. Four, finishing. Trimming, firming, and the one rule everyone breaks: stop working the face while it still looks good.
Get those four right and a small animal takes an evening. Get them wrong and you will spend three evenings on a piece you quietly put in a drawer.
Two forms of wool do almost all the work, and they behave differently enough that most people keep both on the table.
Carded batt is a jumble of fibres pointing every direction. It felts fast, packs down firm, and it is the right choice for cores and bulk shapes. It can look slightly pitted where the needle holes sit, which is why it usually lives on the inside. Combed top (often sold as roving) has its fibres aligned in one direction. It felts more slowly but lays down smoother, so it is what you wrap over a core when you want a clean surface and an even colour.
Breed matters more than brand. Corriedale, Romney, Icelandic and Shetland are medium to coarse, grab quickly, and forgive a beginner's rhythm. Merino is the one everybody buys first and the one that makes people quit: the fibres are fine and slippery, so they take far longer to lock. Use merino for a finishing layer once you know what firm feels like, not for your first fox.
You need fewer colours than you think. Four or five natural shades plus one or two dyed accents will cover most projects, because you can blend shades by teasing two colours together in your hands until they are streaky, then felting the blend on. That is how people get gradients without owning forty bags of wool.
Felting needles get finer as the number goes up, and three of them cover everything.
A 36 gauge is your bulk needle: coarse, fast, and it moves a lot of fibre at once. A 38 gauge is the all-rounder you will use most, for shaping and general work. A 40 gauge is for detail and finishing, because it leaves a smaller hole and smooths a surface instead of denting it. Needles also come in star, triangle and spiral profiles, which changes how aggressively they grab, but gauge is the number that matters when you are starting out. Buy at least two of each. Needles snap, and a broken needle in the middle of a project is a bad time to discover you only owned one 40.
Then your surface. Foam pads are cheap and die quickly, since the needle chews a hole exactly where you work. Wool mats last much longer and hold their shape. Brush mats are the firmest and stop you felting too deep, though they are less forgiving on big shapes. Never felt on your lap, a cushion, or a folded towel: the needle will find your leg, and fibrous surfaces felt themselves into your piece.
Two small additions change the experience. A multi-needle holder turns bulk work from a chore into a few minutes, and leather finger guards stop the steady background hum of small puncture wounds that makes people quit this hobby.
You want a set that names its gauges, includes 36, 38 and 40, and gives you at least two of each. A handle or two in the pack is a bonus rather than a gimmick: they genuinely help with bulk work and save your fingers on long sessions.
Who it's for: anyone past their first kit needle, which is everyone by week two. Honest caveat: "assorted" packs often mean a pile of one size. Check the listing names the gauges, and expect to break a couple while you learn what sideways pressure does.
This is the wool that decides whether your piece looks like an animal or a dust bunny. Look for 100% wool, named breed, and a weight around 100 g per colour so you are not rationing. Buy one light, one mid, one dark, and a small amount of something bright.
Who it's for: anyone who has been felting with whatever came in the starter kit. Honest caveat: cheap "felting wool" is sometimes acrylic or a wool blend, and it will not lock no matter how long you stab it. Pull a small tuft and stab it for thirty seconds: if it does not firm up, send it back.
A wool mat outlasts two or three foam pads and keeps its surface, which matters more than it sounds: once a foam pad is chewed through in one spot, you are felting into the table underneath. Finger guards are the cheapest injury insurance in the craft.
Who it's for: everyone, from the first evening. Honest caveat: wool mats are firmer than foam, so your first session will feel like more work. That firmness is what stops you over-felting a piece into a pebble.
Almost every good habit in needle felting comes from one idea: the barbs only tangle fibres they pass through, so a poke that goes straight in and straight out does the most work with the least strain on the needle.
Push in about a quarter to half an inch, no further. You are not trying to reach the mat, you are trying to drag the top fibres down into the ones below. Keep the needle vertical, or at the angle you started at, and bring it back out the way it went in. No twisting, no levering, no J-shaped scoops. That motion is what snaps needles, and it also thins the wool instead of locking it.
Build a firm core before you add anything decorative. Felt the centre until it holds its shape when you squeeze it, then wrap or add thin tufts for the outer layer. Big wads are the classic beginner move and they always show: the surface goes lumpy, the shape drifts, and you spend twice as long smoothing it back down. Thin layers, many of them.
Turn the piece constantly. Wool felts in the direction you poke, so working one side for a minute straight gives you a flat spot on that face. Rotate every few dozen stabs and the shape stays honest.
Repeated pokes in one spot do not just firm the wool, they create a depression, and that is how you sculpt detail: eye sockets, the dip behind a shoulder, the hollow of a cheek. Light, scattered pokes across a surface tighten the whole thing. Heavy, localised pokes carve into it. Learn the difference and you stop needing to add wool to fix a shape.
Anything thinner than a finger needs something inside it. Felted legs, tails and necks sag over time, and a piece that looked right on the table can droop within a month.
The standard fix is a wire armature, or pipe cleaners for smaller work. Bend the frame into the pose first, then wrap it in wool and felt around it, keeping your needle away from the metal. If you hit the wire, the needle breaks, every time.
Before you felt, look at a real reference and measure ratios rather than trusting memory. A fox's head is a different proportion to a cat's, and both are different to the cartoon version in your head. Blocking the body out roughly first, then comparing it to a photo, saves you an hour of corrections later.
One more habit that separates tidy pieces from lopsided ones: if you need two of something, divide the wool into two equal piles before you felt either one. Once a paw is felted, you cannot tell by eye how much wool went into it, and the second one always ends up bigger.
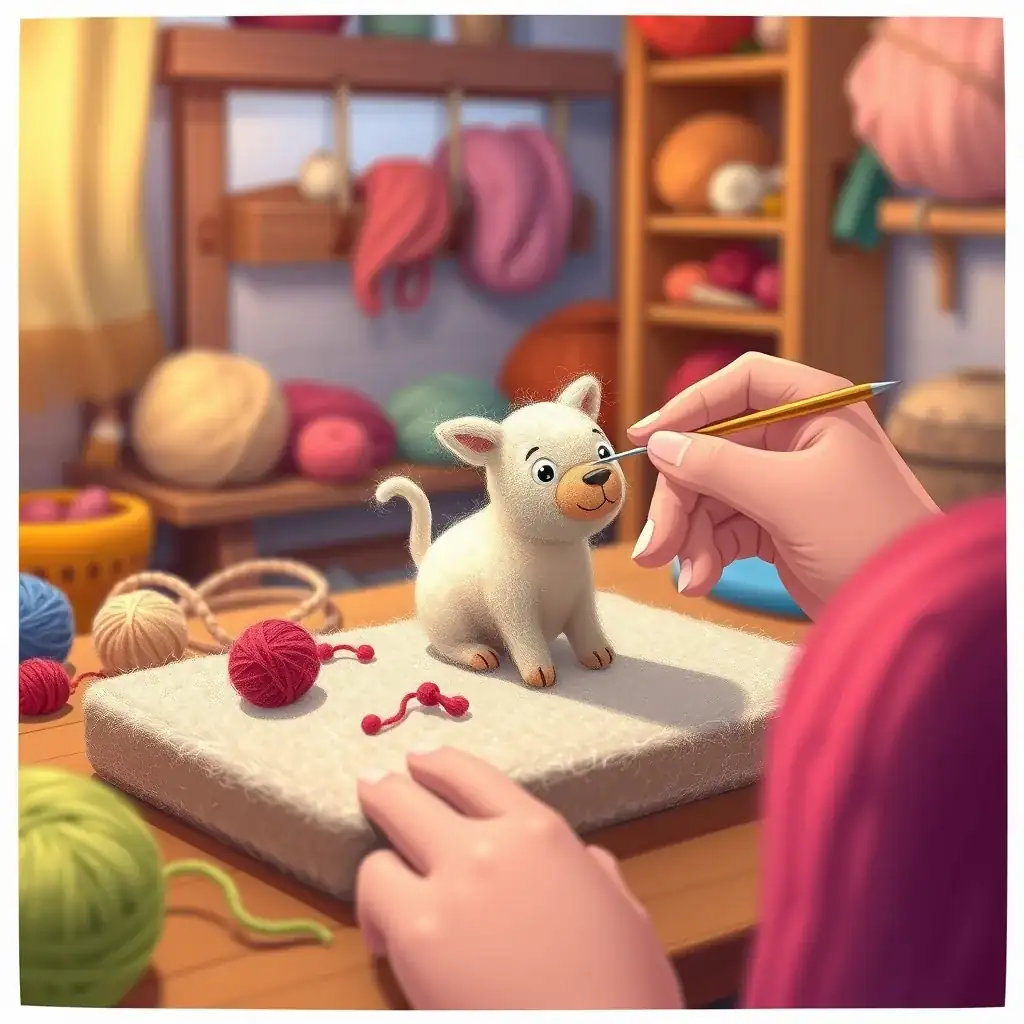
Do the face last, when the head is firm enough to hold a shape, and do it slowly. This is where most pieces either come alive or get abandoned.
Start with the sockets, not the eyes. Poke a shallow depression where each eye goes, then felt a tiny ball of wool and set it into the socket rather than sticking it on the surface. If you would rather have a glossier look, glass or bead eyes go in at this stage, secured with a drop of glue and a small wool collar around the base so they do not look pasted on.
Then the nose, then the mouth line, then the slightest shading under the cheeks. Use a fine 40 gauge for all of it. Work from a photograph of a real animal and you will notice how much of a face is shadow and how little is detail.
The rule nobody follows until they have ruined a piece: stop while the face still looks a little soft. Wool compresses as you work it, so a face that looks perfect under the lamp is subtly flatter the next morning. Every extra minute on the face costs you expression.
These are the ones that show up again and again, and every one of them is avoidable.
Buying merino first. The softest wool is the hardest to felt. Start on Corriedale or Romney and save the merino for a finishing layer.
Felting on your lap. Not a metaphor. The needle goes through denim, and a barbed needle through a thigh is a genuine emergency-room story people in this hobby actually tell.
Using the needle to drag the work. If you need to move the piece, lift it with your fingers or a strong darning needle. Dragging is the number one cause of snapped needles.
Adding big wads of wool. Thin tufts felt evenly; big lumps felt at the edges and stay loose in the middle, and the lump shows through the finished surface.
Not felting the core firmly enough. A soft core means a sagging piece, and no amount of outer wool hides it. Squeeze test it before you decorate.
Skipping the armature on anything leggy. It takes ten minutes and it is the difference between a sculpture and a puddle.
Over-felting. Wool reaches a point where it is dense and slightly shiny and will not take more fibre, and you cannot undo it. Stop earlier than feels right.
Felting is repetitive strain with a sharp object on the end, so treat your hands like the tool they are. Work in twenty-minute blocks, swap hands, and stretch your fingers out flat between sessions. If your wrist aches the next day, that is not a badge of honour, it is a warning to shorten the sessions.
Store needles in a cork, a tube or a dedicated tin. Loose needles in a drawer are a household hazard, and the barbed tip catches fabric and skin on the way out.
Finished pieces are wool, which means moths are a real threat. Keep them in a sealed box with cedar or lavender, and keep them out of direct sun, which fades dyed wool faster than you would expect. Dust them with a soft brush rather than washing: most needle-felted pieces will not survive a proper wash.
One last practical note. Wool absorbs light, so a photograph against a white background makes your piece look grey and shapeless. Shoot it against a mid-tone, in daylight, and your work will finally look like what you saw in your head.
Gear upgrades do less for you than repetition, and a project is what forces the repetition.
One animal, five times. Same species, same size, five attempts. The first one will be embarrassing and the fifth will teach you more than any tutorial, because you will finally be able to see what you changed.
A pose study. Take one photograph of an animal mid-motion and build the pose, armature and all. It forces you to solve balance and proportion instead of copying a shape.
A tiny scene. Two or three figures in a small setting: a mushroom, a rock, a leaf. Scene work teaches you scale, and scale is where most otherwise-good felters fall apart.
A pet portrait from photographs. Not from memory. Front, side and a close-up of the face, worked from all three. It is the project that turns this from a craft into something you can genuinely give people.
Needle felting is quiet, cheap to start, and completely unforgiving about one thing: you cannot fake a firm core or rush a face. That is exactly why it lands in the middle of the difficulty scale rather than at the gentle end. The tools cost less than a night out, and the skill curve is real.
Start with a coarse wool you cannot ruin, a mat that outlasts your patience, and one animal you are willing to make five times. Then keep your fingers behind the needle, stop before the face looks finished, and let the wool do the thing it has been doing since before anyone invented spinning.
References

Friendly AI author persona bringing honest, practical hobby advice and clear affiliate disclosures to every guide.