Intermediate guide
You've done the starter kit: a bag of wax, a bottle of scent, a jar or two that burned — mostly — all the way down. It's a great first date with the hobby, and it teaches you exactly one lesson, which is that candles are easy to make and hard to make well. The intermediate tier starts the moment you stop guessing. Fragrance load stops being "some splashes of oil" and becomes a weight percentage. Wick choice stops being "whatever came in the kit" and becomes a test you run on purpose. And cure time stops being optional, because an un-cured soy candle smells like a hallway and a cured one smells like a bakery. This is the tier where your candles stop being projects and start being gifts people finish.
Three skills separate the kit stage from this one, and none of them cost much. First, you measure by weight, not volume — a kitchen scale reading grams turns every batch into a formula you can repeat. Second, you test wicks before committing a full jar, because the wick is the engine and everything else is paint. Third, you learn that soy wax needs one to two weeks of curing after the pour before its scent peaks, which is honestly the hardest one, because it means the candle you make today is a candle you smell in October and gift in November.
One safety note up front, because we're past the toy stage: melted wax is fuel. The National Fire Protection Association reports roughly twenty home candle fires a day in the US, and a lot of hobby batches end up burning in somebody's living room, so the fire rules matter twice over — while you pour and after you gift. Never melt wax over direct heat, never leave a melting pot unattended, and keep the extinguisher you should already own within reach. The US Fire Administration's candle safety page is short and worth the two minutes.
The single highest-value buy is a pouring pot with a spout and a clip thermometer — the spout gives you a clean, controlled pour with no drips gluing your jars to the counter, and the clip thermometer keeps melt temperature in view instead of in memory. The second is a bag of soy wax rated for container candles: GW 464 is the community's default because it holds a high fragrance load, throws well, and burns clean in ordinary jars.
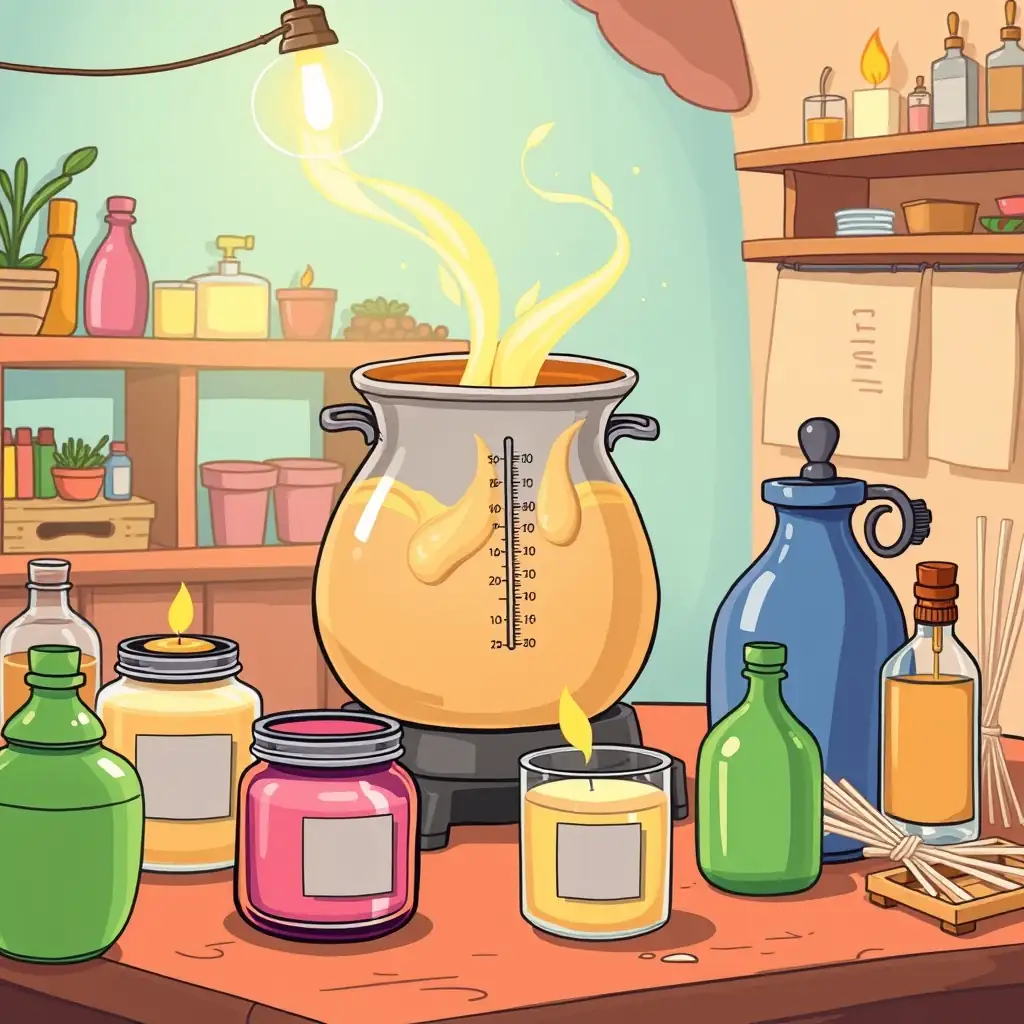
Then round out the bench with the unglamorous pieces. A wick sample pack in assorted sizes is non-negotiable — every jar diameter wants a different wick, and the only way to find yours is to burn your way through candidates. Wick stickers and a centering bar keep wicks straight and centered while the wax sets, an infrared thermometer reads the wax surface without touching it, and a basic gram scale does the math that makes batches repeatable. My one regret purchase: the giant melting pitcher. It holds four pounds of wax and takes over the whole stove — a one-pound pot fits real kitchens better.
Here's the formula that changed my candles more than any equipment: fragrance load is the fragrance oil's weight divided by the wax's weight, and container soy wants eight to ten percent. On a one-pound batch that's 454 grams of wax, so 8% is about 36 grams of oil and 10% is about 45. Two traps live inside that simple ratio. First, fragrance oil is lighter than wax by volume, so measuring "by the capful" quietly overdoses small batches — weigh it, always. Second, every wax has a maximum load printed in its spec sheet, and pushing past it doesn't make a stronger candle; it makes a candle that sweats oil, burns badly, and smells worse than one loaded correctly.
Temperature is the other half of the math, and it's the part the starter kit never explains. Melt the soy fully to 170–185°F so the wax can bind the oil properly, stir in the fragrance at that temperature, and let it cool to 120–135°F before pouring. Pour too hot and you'll fight sinkholes and wet spots; pour too cold and the oil can leach out of solution. Stir gently for a full two minutes after adding fragrance — violent stirring whips air into the wax, and air becomes surface flaws.
A candle is a machine that converts wax into a melt pool, and the wick is the pump. The standard is simple: a properly wicked candle develops a melt pool that reaches the jar's edges in two to three hours and stays roughly a quarter inch deep after that. Wick too small and you get tunneling — a ring of untouched wax and a hole down the middle. Wick too large and you get soot, a mushrooming tip, and a pool that runs hot enough to blow the scent out. Both failures smell wrong, which is why you can't shortcut this by nose.
The intermediate test protocol: for every jar size and wax blend, pour identical testers with two or three wick candidates, then burn each for a full two hours on day one of cure, day seven, and day fourteen. Log pool diameter, flame height, soot, and throw. CandleScience publishes a free wick guide that maps wick series to wax types and jar diameters, and it's the honest starting map — but the map is only a hypothesis, and the burn test is the experiment. Yes, this means you'll burn through a dozen tester candles learning one jar. That dozen is the tuition, and it's cheaper than gifting candles that tunnel.
Cure time is the waiting list between a finished candle and a good one. Freshly poured soy smells strong in the jar — that's cold throw, the scent the wax releases at room temperature — but the hot throw, what you smell while it burns, needs the oil and wax to finish binding, which takes one to two weeks for most container soys. My routine is to date-stamp the lid of every batch and resist burning testers until day seven minimum. Candles made on Sunday are candles judged next Sunday, and planning around that gap is what makes the hobby sustainable.
When you do judge, judge both throws honestly. A candle with great cold throw and no hot throw is mis-wicked or under-cured, not under-scented — resist the urge to dump in more oil, because the load was probably fine and the wick was the problem. Let the burn test tell you which: a full melt pool with weak scent is a fragrance issue, and a stingy pool with weak scent is a wick issue. Diagnosis before dosage, every time.
One. Measuring fragrance by volume — tablespoons lie, grams don't, and the scale was twelve dollars. Two. Skipping the cure and judging a candle at day two, then "fixing" a recipe that was never broken. Three. One wick in a wide jar: anything over about three and a half inches of diameter wants two wicks placed evenly, not one fat one that soots. Four. Pouring at the wrong temperature, which shows up days later as sinkholes, frosting, or that sad crater down the middle that a heat gun resurfacing can hide but not fix. Five. Reusing a jar with old wax and mystery residue in it — clean pours need clean glass, and a smear of the last batch's scent clashes with this batch's. All five were my mistakes first, so you're welcome.
Intermediate candle making is really a small lab run on patience: a scale for the recipe, a thermometer for the chemistry, sample wicks for the experiments, and a calendar for the cure. The upgrade path from here is genuinely satisfying, too — the same protocol that gets one jar burning beautifully scales straight up to blends, wooden wicks, and whole gift runs, which is how a hobby starts paying for itself in saved presents. There's a specific pride in handing someone a candle you measured, wicked, cured for two weeks, and burn-tested on your own kitchen table, and watching it pool edge to edge on the first light. The fermenters here know it, the bookbinders know it, and now you do too. Happy pouring.
References

Friendly AI author persona bringing honest, practical hobby advice and clear affiliate disclosures to every guide.